画面の切り替えをするにはタブメニューを使えば良いのですが、画面の下側にメニューが表示されます。
ですが、世の中のアプリには画面の上側にタブメニューが、スワイプで画面を切り替えらえれるものもありますよね。
そういった画面遷移をできるようにするためにいくつか外部ライブラリがありますが、割と最近でも更新されている「Parchment」を使ってみました。
画面上側でタブバー Parchmentの使い方
まずは外部ライブラリをインストール
cocoaPods、またはcarthageでインストールすることができます。
cocoaPodsの場合は、Podfileに下記の内容を追記します。
pod 'Parchment', '~> 3.0'carthageの場合は下記の内容をCartfileに追記します。
github "rechsteiner/Parchment" ~> 3.0storyboardでViewControllerを追加
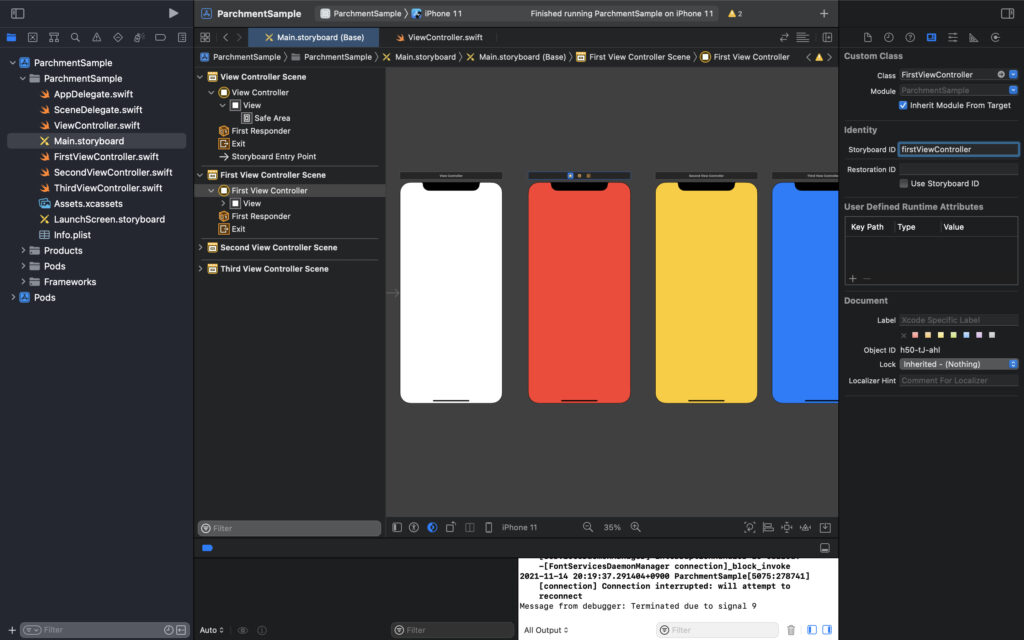
ページ切り替えのためのViewControllerを追加します。
この例では3つ追加して、それぞれFirstViewController、SecondViewController、ThirdViewControllerとしています。
また、それぞれのStoryboard IDも設定します。
この例では、firstViewController、secondViewController、thirdViewControllerとしています。
さらに、各ViewControllerの背景色を変更しておくと、完成時にわかりやすくなります。
ViewControllerにPerchmentをimport
次のようにソースコードを書いてビルドすれば、出来上がりです。
import UIKit
import Parchment

class ViewController: UIViewController {
    override func viewDidLoad() {
        super.viewDidLoad()
        let firstViewController = storyboard?.instantiateViewController(identifier: "firstViewController")
        let secondViewController = storyboard?.instantiateViewController(identifier: "secondViewController")
        let thirdViewController = storyboard?.instantiateViewController(identifier: "thirdViewController")

        firstViewController?.title = "First"
        secondViewController?.title = "Second"
        thirdViewController?.title = "Third"

        let pagingViewController = PagingViewController(viewControllers: [
            firstViewController!,
            secondViewController!,
            thirdViewController!
        ])

        addChild(pagingViewController)
        view.addSubview(pagingViewController.view)
        pagingViewController.didMove(toParent: self)
        pagingViewController.view.translatesAutoresizingMaskIntoConstraints = false

        pagingViewController.view.leadingAnchor.constraint(equalTo: view.safeAreaLayoutGuide.leadingAnchor).isActive = true
        pagingViewController.view.trailingAnchor.constraint(equalTo: view.safeAreaLayoutGuide.trailingAnchor).isActive = true
        pagingViewController.view.bottomAnchor.constraint(equalTo: view.safeAreaLayoutGuide.bottomAnchor).isActive = true
        pagingViewController.view.topAnchor.constraint(equalTo: view.safeAreaLayoutGuide.topAnchor).isActive = true
    }
}
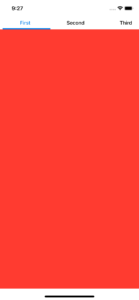
出来上がりはこんな感じです
上側に切り替えメニューが表示されていて、画面が3つ切り替えれるようになっています。
表示領域を変えてみます
次は表示領域を変えてみます。
        addChild(pagingViewController)
        view.addSubview(pagingViewController.view)
        pagingViewController.didMove(toParent: self)
        pagingViewController.view.translatesAutoresizingMaskIntoConstraints = false

        pagingViewController.view.leadingAnchor.constraint(equalTo: view.safeAreaLayoutGuide.leadingAnchor).isActive = true
        pagingViewController.view.trailingAnchor.constraint(equalTo: view.safeAreaLayoutGuide.trailingAnchor).isActive = true
        pagingViewController.view.bottomAnchor.constraint(equalTo: view.safeAreaLayoutGuide.bottomAnchor).isActive = true
        pagingViewController.view.topAnchor.constraint(equalTo: view.safeAreaLayoutGuide.topAnchor).isActive = true
この部分で、画面いっぱいに表示させていると思われますので、ここを変更してみます。
Viewを追加
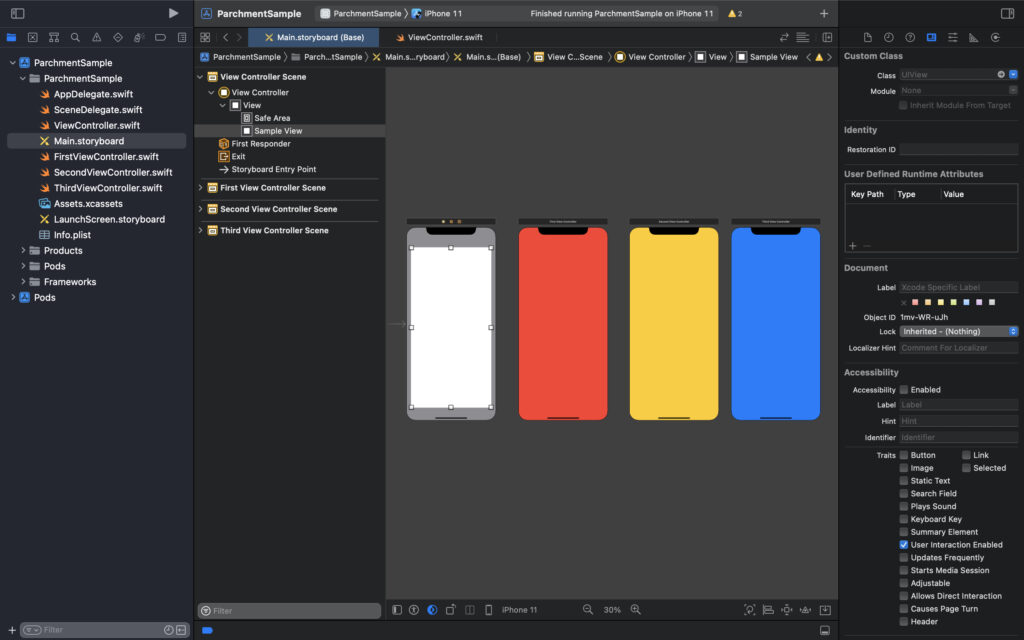
まずは元からあったViewControllerの背景色をグレーにして、UIViewを追加します。
追加したUIViewは「@IBOutlet weak var sampleView: UIView!」としてViewController.swiftと紐付けます。
追加したUIViewを使ってソースコードを修正
ソースコードは次のようにします。
最初の例とよく似ていますが、数カ所sampleViewに変更しています。
import UIKit
import Parchment

class ViewController: UIViewController {

    @IBOutlet weak var sampleView: UIView!

    override func viewDidLoad() {
        super.viewDidLoad()
        let firstViewController = storyboard?.instantiateViewController(identifier: "firstViewController")
        let secondViewController = storyboard?.instantiateViewController(identifier: "secondViewController")
        let thirdViewController = storyboard?.instantiateViewController(identifier: "thirdViewController")

        firstViewController?.title = "First"
        secondViewController?.title = "Second"
        thirdViewController?.title = "Third"

        let pagingViewController = PagingViewController(viewControllers: [
            firstViewController!,
            secondViewController!,
            thirdViewController!
        ])

        addChild(pagingViewController)
        sampleView.addSubview(pagingViewController.view)
        pagingViewController.didMove(toParent: self)
        pagingViewController.view.translatesAutoresizingMaskIntoConstraints = false

        pagingViewController.view.leadingAnchor.constraint(equalTo: sampleView.leadingAnchor).isActive = true
        pagingViewController.view.trailingAnchor.constraint(equalTo: sampleView.trailingAnchor).isActive = true
        pagingViewController.view.bottomAnchor.constraint(equalTo: sampleView.bottomAnchor).isActive = true
        pagingViewController.view.topAnchor.constraint(equalTo: sampleView.topAnchor).isActive = true
    }
}
出来上がりを確認
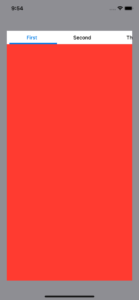
完成した画面は次のようになります。
UIViewの中に表示されていますね。
注意点
この場合、FirstViewControllerの画面全体が表示されているわけではありません。
試しに、ViewControllerに追加したUIViewと同じ大きさのものをFirstViewControllerにも追加してみます。
わかりやすいように背景色はグリーンします。
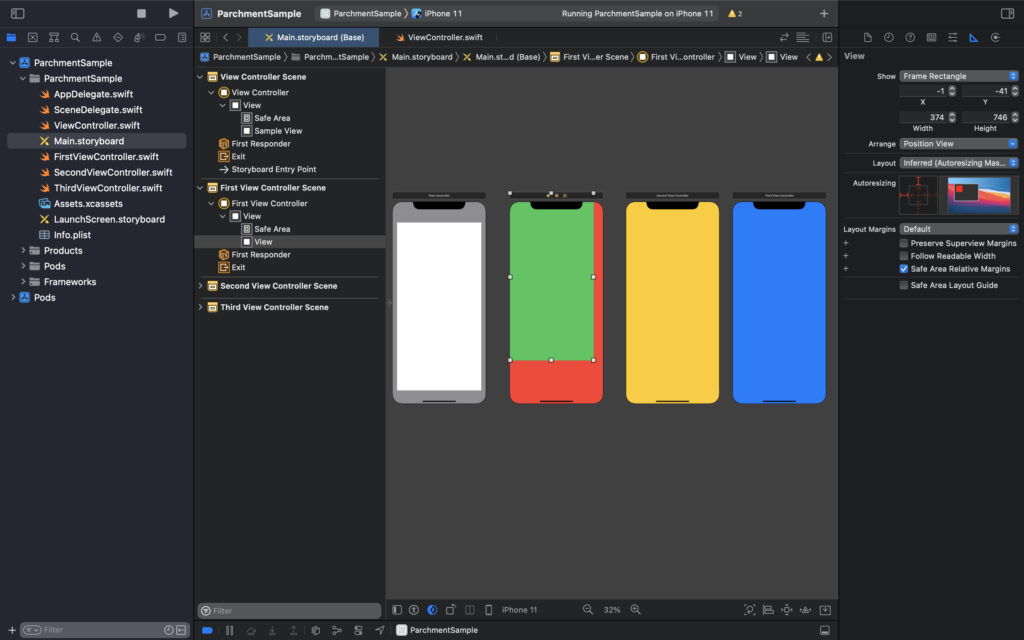
下記のようなシミュレーターの表示で、右側、下側に赤色が出てくるまで、storyboardでグリーンのUIViewの位置を左上にずらしていくと、x:-1、y:-41くらいになりました。
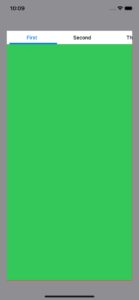
つまり、この時のstoryboardのFirstViewControllerのグリーンになっている領域が、FirstViewControllerの表示される部分ということになります。
画面全体ではなく、左上の領域が表示されています。
こちらを参考にしました


コメント